How to Create a Successful Prototype Aluminum Casting Process
Creating a successful prototype aluminum casting process is crucial in many industries. This method allows engineers to develop products that meet specific design requirements. By using lightweight aluminum, manufacturers achieve enhanced performance and strength in their prototypes.
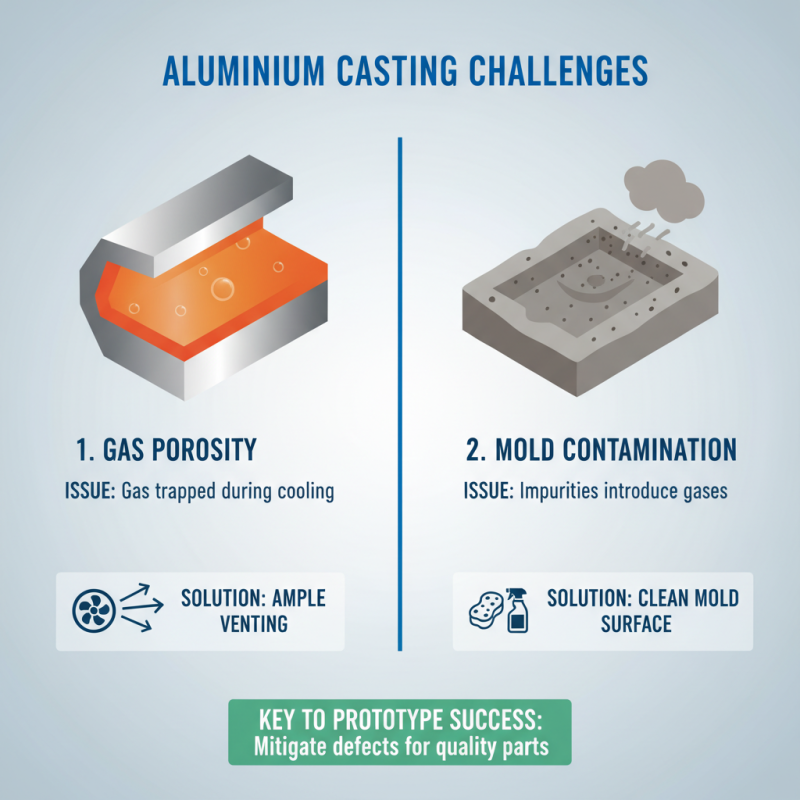
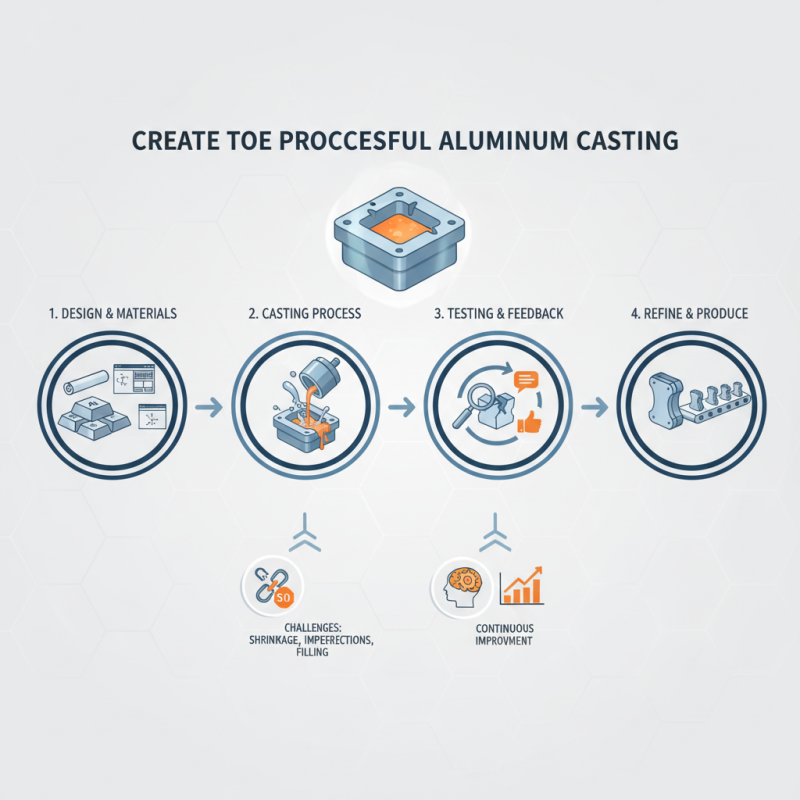
To build an effective prototype aluminum casting, one must consider several factors. The selection of materials, design complexity, and even the casting process itself play vital roles. Challenges often arise during prototyping. Issues such as shrinkage, surface imperfections, or inadequate mold filling can occur.
Attention to detail is necessary in every stage of the prototype aluminum casting process. Each cast must be reviewed for flaws. Feedback from the testing phase is invaluable. This step reinforces the importance of continuous improvement. A successful prototype will pave the way for larger production runs. Understanding and addressing the complexities of aluminum casting can lead to better outcomes.
Understanding Aluminum Casting: Basics and Benefits
Aluminum casting is a vital process in manufacturing. It offers various benefits, making it a popular choice for many industries. Lightweight yet strong, aluminum is ideal for creating complex shapes. This versatility plays a critical role in design efficiency.
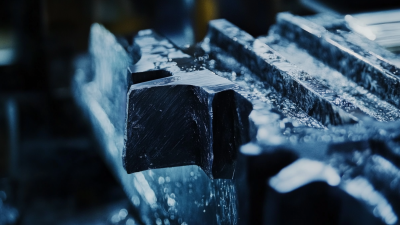
Understanding the aluminum casting process is essential. Melted aluminum is poured into molds to form specific shapes. The cooling process is crucial. If cooled too quickly, cracks or defects may appear. Proper temperature management is necessary for quality outcomes. Each project requires careful planning to avoid such pitfalls.
Working with aluminum means embracing the need for precision. Each cast may reveal unexpected challenges. Surface imperfections might occur, or dimensions can be off. These factors demand reflection and adjustment in future prototypes. Identifying these issues early can save time and resources down the line. Embracing learning opportunities is crucial in achieving a successful aluminum casting process.
Aluminum Casting Process Efficiency by Method
Essential Materials for Prototype Aluminum Casting
When embarking on a prototype aluminum casting project, selecting the right materials is crucial. Start with high-quality aluminum alloys. These alloys provide strength and durability. Common choices include 356 and 319 alloys. They offer good fluidity and are easy to cast. Ensure your aluminum is free from contamination. Even small impurities can affect the final product.
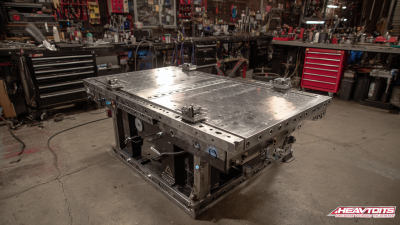
Molds play a pivotal role in the casting process. You can opt for sand molds or metal molds. Sand molds are versatile and cost-effective, but they may not deliver the best surface finish. Metal molds provide better precision but require higher initial investment. Consider the complexity of your design. If it has intricate features, a more precise mold will reduce the need for post-processing.
Additionally, don’t forget about the casting environment. A controlled temperature can make a difference. Too cold or too hot can lead to defects. Be prepared to adjust your setup based on your findings. Every casting process teaches you something new. Some experiments might not yield perfect results, but each step is a learning opportunity. Embrace the imperfections; they will guide you to improve.
Step-by-Step Process of Creating an Aluminum Prototype
Creating an aluminum prototype requires careful planning and execution. Start by defining your design specifications clearly. Sketch your ideas and make sure to include dimensions. Rely on CAD software to refine the designs. This step is crucial for accuracy. A well-defined design reduces errors later in the process.
Next, choose the right aluminum alloy for your prototype. Your choice can affect strength and ductility. Make sure to understand the properties of different alloys. This knowledge can save you time and resources. After selecting the alloy, prepare the mold. A poorly prepared mold can lead to flaws. Ensure surfaces are smooth and free from debris.
Once the mold is ready, it's time for pouring. Monitor the metal's temperature closely. Pour too hot, and you may have defects. Pour too cold, and you risk incomplete filling. After pouring, let the metal cool. This step is often rushed but essential for a quality finish. Afterward, inspect the prototype carefully for any imperfections. Adjust your process based on this feedback for continual improvement.